Hardening Off Seedlings: A Beginner's Guide to Moving Transplants Outdoors Safely
A seedling that's spent six weeks under grow lights in a steady 70°F room has never felt real wind, real sun, or a real temperature swing. Set it straight into the garden on transplant day and it can scorch, flop over, or simply stall for two weeks — the fix is a short, boring, and completely necessary transition period most first-time gardeners skip.
Why a perfectly healthy seedling can still fail outdoors
Indoor growth is soft growth. A seedling raised under grow lights or on a windowsill develops thinner cell walls, a thinner leaf cuticle, and no practice handling direct sun, wind, or a cold night — all protections an outdoor-grown plant builds up gradually as it grows. University of Maryland Extension describes the hardening-off process as the shift from "soft and succulent" tissue to firmer tissue that can actually take a beating. Skip that shift and the first week outside does the adjusting instead, usually visibly: scorched or bleached-looking leaves from direct sun the plant was never exposed to, or a seedling that goes fully limp and takes a week or more to recover — if it recovers at all.
The basic schedule: 1 to 2 weeks, starting small
Both University of Vermont Extension and University of Maryland Extension describe essentially the same process, timed to finish right around your planned transplant date:
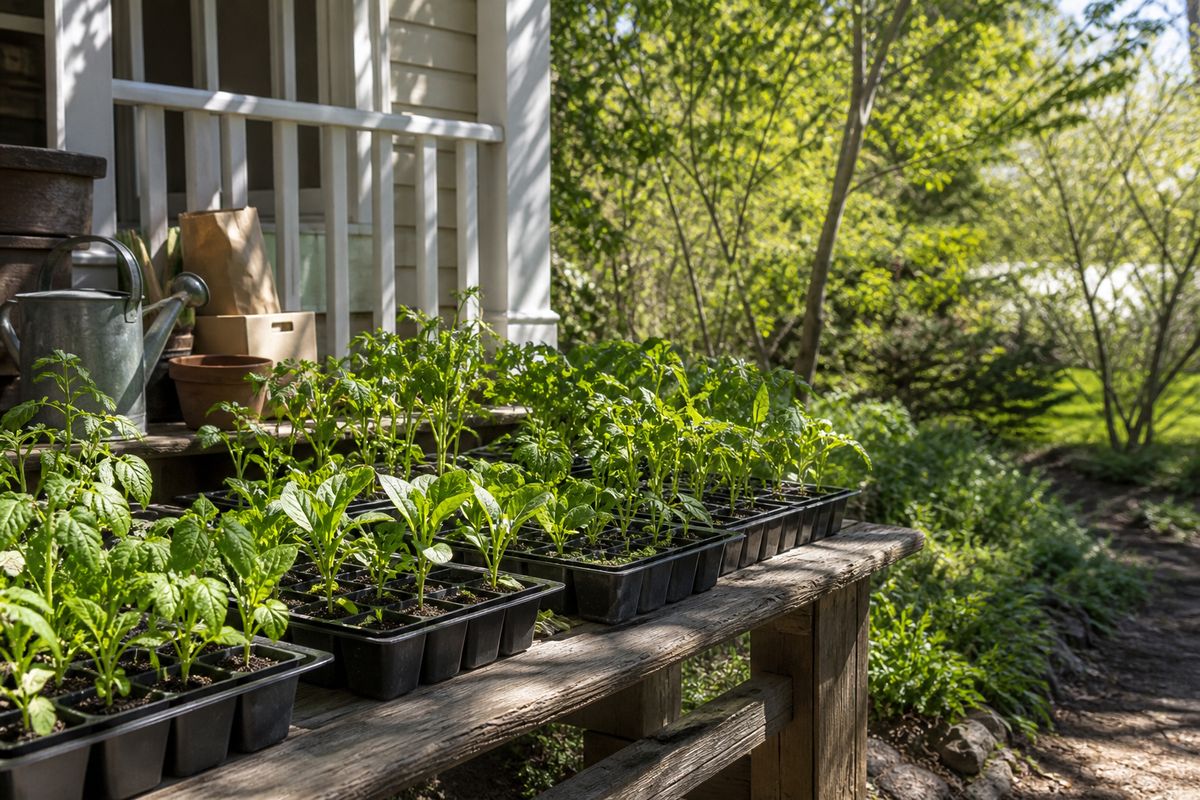
- Day 1: move seedlings outside to a sheltered, partly shaded spot for just 1 to 2 hours, ideally in early morning or late afternoon rather than the middle of a hot or windy day. Bring them back in afterward.
- Each following day: add a bit more time outside and a bit more direct sun. A cold frame (see our season-extension guide) is an easy way to do this gradually without having to carry trays in and out by hand.
- Ease off watering slightly during this period to slow soft new growth — but don't let plants actually wilt from drought; that's a different stress than the one you're trying to build tolerance to.
- By the end of 1 to 2 weeks, seedlings should be able to stay outside a full day and night and are ready to go in the ground.
The temperature rules that actually matter
Not every crop hardens the same way, and University of Maryland Extension is specific about where the line sits:
- Keep tender (warm-season) seedlings indoors on windy days or whenever the temperature is below 45°F — tomatoes, peppers, cucumbers, melons, squash, and similar crops.
- Tomatoes can typically handle a light, unexpected frost once they're properly hardened — a real margin of safety, but not a reason to plan on it.
- Cucumbers and melons are more sensitive in the other direction: harden them too aggressively and growth can stop altogether. They're fine staying outside overnight as long as the temperature won't drop below 50°F.
- Cauliflower has its own specific failure mode worth knowing before it happens: over-hardening stresses the plant into forming small "buttoned" heads — tiny heads the size of a thumb that never develop further, no matter what you do afterward. There's no fixing a buttoned cauliflower once it's happened.
- Cold-hardy crops (lettuce, brassicas, and similar) still need to be hardened before they're exposed to an actual freeze. University of Maryland Extension's point here is easy to miss: "even cold-hardy plants will be hurt if exposed to freezing temperatures before they are hardened" — cold tolerance is something a plant builds up to, not a trait it has automatically from the seed packet.
The tomato "tickling" trick
One low-effort technique worth doing even before seedlings go outside at all: lightly brush your open hand over the tops of tomato seedlings once a day for a few seconds. The light mechanical stress mimics what wind does to a plant outdoors, and it measurably encourages shorter, stockier, sturdier stem growth instead of the tall, thin growth seedlings default to under still indoor air. It costs nothing and takes about ten seconds per tray.
Reading the signs: when to back off
Hardening off isn't a schedule you follow blindly regardless of what the plants are telling you. If seedlings wilt or flop over during an outdoor session, that's the plant saying it isn't ready for that much exposure yet — bring them back inside and try a shorter session the next day rather than pushing through it. Wilting right after transplanting into the garden is frequently a sign of transplant shock rather than simple underwatering, so resist the urge to flood a drooping transplant with water as the first response; give it a day to recover in place first, with normal (not excessive) watering.
The short version
Start 1 to 2 weeks before your transplant date. Day one is 1 to 2 hours in a sheltered spot; add time and sun daily from there, and ease off watering slightly without letting plants wilt from drought. Keep tender crops in whenever it's windy or under 45°F, and don't let cucumbers or melons sit below 50°F even once hardened. If a plant wilts or flops during the process, that's your cue to slow down, not push through. By day 10 to 14, a well-hardened seedling can handle a full day and night outside — and that's when it's actually ready for the garden.
Know your transplant date before you start the clock
Hardening off only works backward from a real date — the Homestead Garden Master Planner includes a frost-date calculator and a full sowing & succession calendar to pin that date down for your own zone, and the Garden Planner Printable has a simpler seed-starting log if that's all you need. See our frost dates guide for the back-of-the-napkin version, and our guides to tomatoes, peppers, cucumbers, and zucchini & summer squash for what each crop needs once it's in the ground.
Browse the shop →