Building a Wood-Fired Cob Oven: A Beginner's Guide to Earthen Oven Construction
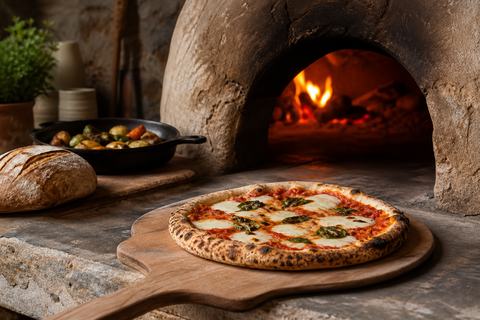
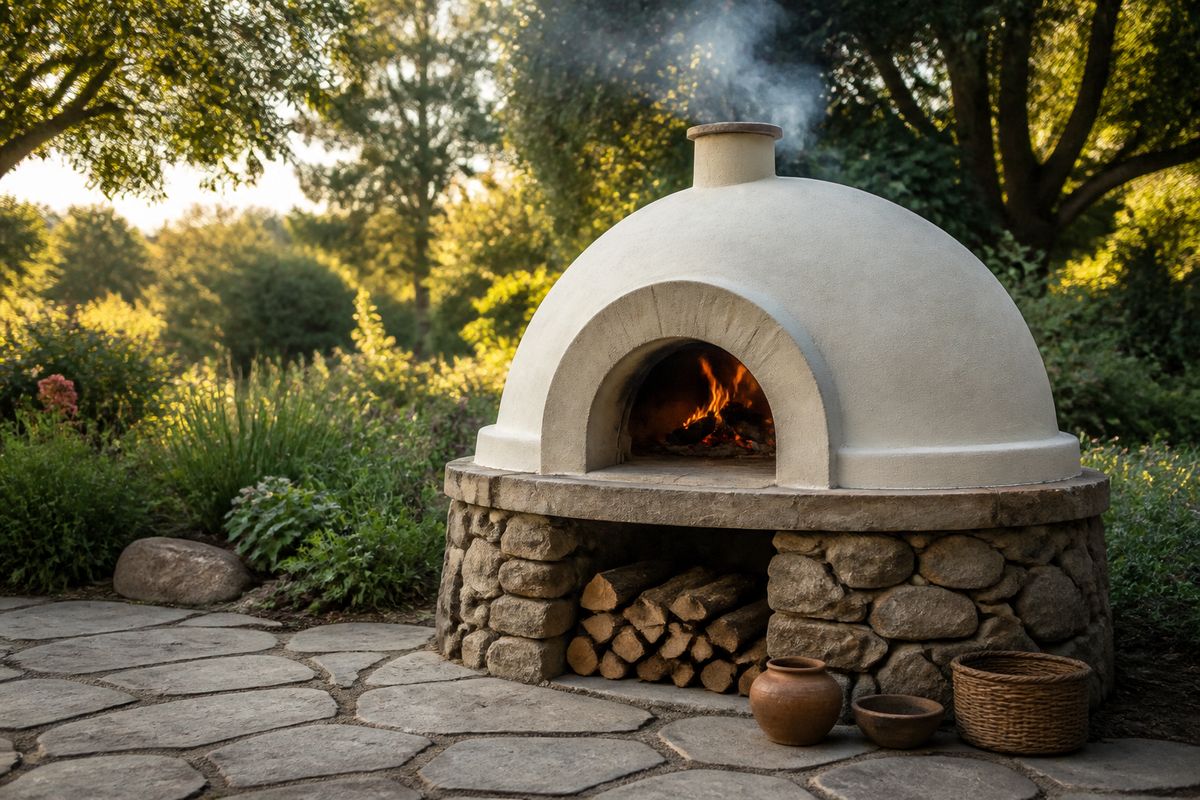
A cob oven is just clay, sand, and straw shaped into a dome over a sand form — no kiln, no masonry skills, no kit. But three details decide whether it bakes a real loaf of bread or just smokes: the layer structure, the door-to-dome ratio, and how slowly you bring it up to its first real fire.
Planning to bake in it once it's built? See our home food preservation guides for what else a wood-fired kitchen setup pairs well with, or jump straight to fermenting and canning to put up what you grow.
Going deeper: how to test your clay, curing the first fires, and cooking pizza, bread and roasts.
The three layers that actually make it work
Every functioning cob oven is built from the same three layers over a temporary sand dome, and skipping or shrinking any one of them is why most first-time builds underperform:
| Layer | What it's made of | Job it does |
|---|---|---|
| Thermal (cob) layer | Clay-rich subsoil or clay, sand, and straw, built directly over the sand form | Stores heat from the fire and radiates it back into the baking chamber |
| Insulation layer | Mostly straw with just enough clay slip to bind it — builders describe it as "way more straw than clay" | Keeps stored heat from escaping outward instead of into your food |
| Finish (lime plaster) | Hydrated lime and sand, roughly 1 part lime to 3 parts sand | Weatherproofs the dome against rain without sealing in moisture, since lime plaster can breathe |
The insulation layer is the one beginners shortchange most, according to experienced builders — it should run at least 4 inches thick, and 6 to 8 inches locks in noticeably more heat for a longer, hotter bake. The lime finish goes on last, in at least two coats (three is better), with about a week of curing between coats so each layer can carbonate — harden by slowly reacting with air — rather than just dry out, which needs mild, frost-free weather to work.
The door-height rule that decides how well it drafts
Experienced wood-fired oven builders (the Forno Bravo oven-building community, among the most detailed public references on earthen oven design) converge on one ratio above almost everything else: the door opening should be about 63% of the interior dome height. A door built taller than that lets too much heat escape every time it's opened; built shorter, and the oven won't draft well or let smoke clear during firing. Get the dome height right first — most backyard builds land in the 16 to 20 inch interior-height range — and let the door height follow from that ratio rather than picking a door size first.
Curing: why the first fires matter more than the first bake
A freshly built cob oven still holds a lot of moisture in its thermal layer, and bringing it up to full baking heat too quickly is the single most common cause of cracking. The standard fix, from the same oven-building community, is a slow, staged curing schedule once the dome has had about a week to air-dry on its own:
- Day by day: build a small fire each day and let it climb roughly 100°F hotter than the day before — a rough progression of 100°, 200°, 300°F and on upward over about a week — rather than lighting one big fire and hoping.
- No thermometer? Build by fuel size instead: start with newspaper alone on day one, then add a few more kindling sticks each following day.
- Let each fire cool naturally after it peaks, rather than forcing the pace — the sudden temperature swings from rushing it are what cause thermal-shock cracks, not the heat itself.
- Expect a hairline crack or two anyway. Builders describe this as normal and expected on a hand-built earthen structure, not a sign of a failed build — small surface cracks don't affect function and can be patched with a bit more cob.
Siting and clearance
Full dimensions, cut list, and 35 illustrated build steps
This article covers the design principles; the Homestead Cob Oven Build Guide is a 45-page illustrated plan for a complete 26-inch interior / 17-inch dome oven on a block stand with a metal-roof shelter: 35 numbered steps with 3D pictures, a clay-testing chapter, parts and cut lists, a four-phase curing schedule, and a firing-and-baking chapter to get your first loaf right. Once it's cured and ready to bake in, The Homestead Bread Book has 23 scratch recipes to break it in with.
Browse the shop →