Curing a New Cob Oven: A Beginner's Guide to the First Fires, Drying Time and Cracks
A new cob dome holds a surprising amount of water. Fire it too hard, too soon, and that water turns to steam inside the walls. The fix is patience: dry the dome first, then bring it up with small fires over a few weeks.
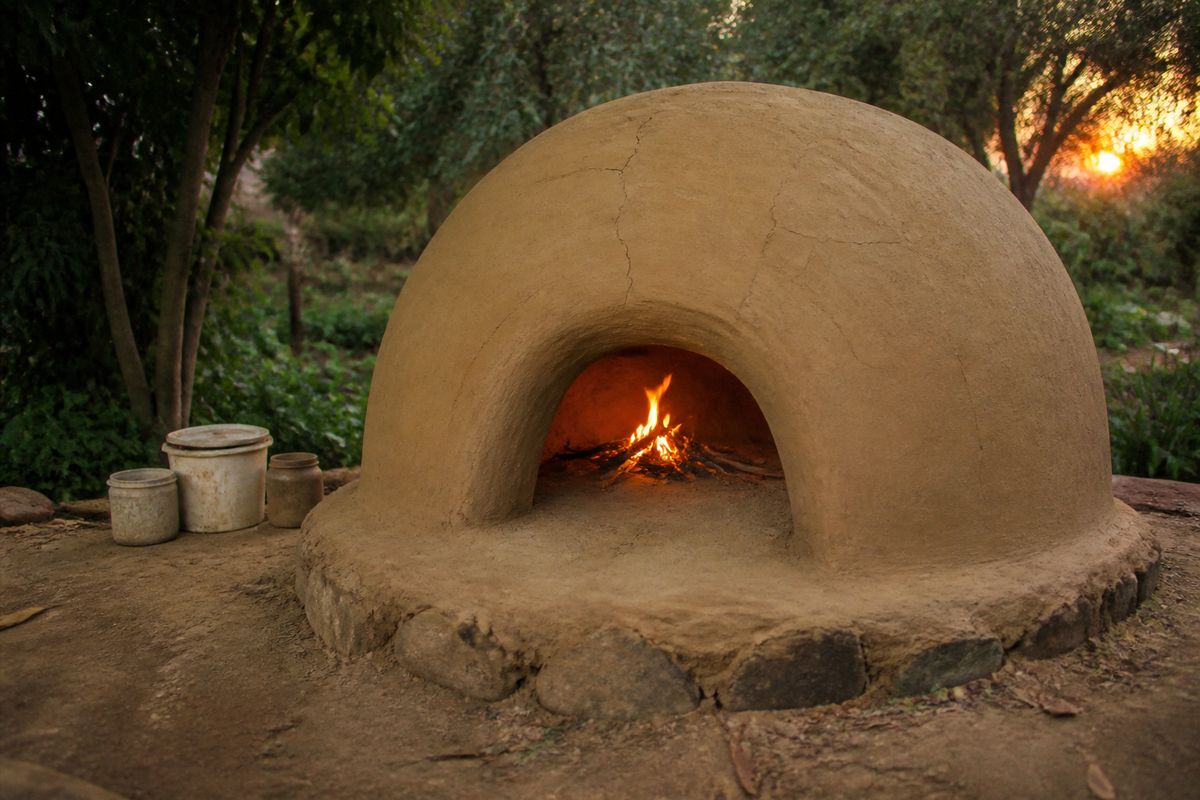
This article picks up where our cob oven overview leaves off. Not sure your cob mix is right? See how to test your clay.
Step 1: Get the sand out early
Clay shrinks as it dries. Experienced builders say the sooner the sand form comes out once the dome can hold itself up, the better, because the dome can then dry from the inside as well as the outside. A common test is that the dome feels "cheese hard": firm, but not yet rock hard. Thick domes take longer. One builder reported waiting about 48 hours before digging the sand out. Never reach in under a dome that still feels soft.
Step 2: Let it air-dry evenly
Keep rain off it and avoid blasting one side with sun or wind, which dries one side faster than the other and invites cracks. Cover it loosely when you are away.
Step 3: Small, low fires over a few weeks
Builders on the Forno Bravo community forum say to spread curing over a few weeks with small, low fires, start low and keep it going for several hours, and, in their words, not to rush it. A rough progression is a slightly hotter fire each day. Our overview article describes one such schedule, and the paid guide lays out four phases with a firing log.
- Watch the base. Steam from the upper dome while the base stays cool means there is still moisture inside. Hold off and keep the fires small.
- Let each fire die down by itself. Quick cooling stresses the clay as much as quick heating.
- Burn dry wood only. Wet wood adds moisture and smoke.
Which cracks are normal?
| What you see | What it usually means | What to do |
|---|---|---|
| Hairline cracks | Common on a hand-built cob dome | Ignore, or brush in thin clay slip when the oven is cool |
| Wider cracks | Often a sign the dome dried or heated too fast | Wet the edges, press in fresh cob, smooth, let it dry before the next fire |
| Large cracks or a sagging dome | Serious damage; one builder suggested rebuilding if it is severe | Stop firing and reassess |
Straw in the first layer helps: it leaves small voids for moisture to escape and adds tensile strength, so it reduces cracking.
A curing schedule and firing log, ready to print
The Homestead Cob Oven Build Guide (45 pages) includes a four-phase curing chart, a firing log, a troubleshooting table and a "checkpoints" page after every stage so you do not build on a mistake.
Browse the shop →