Home Food Dehydrating for Beginners: Drying Fruits, Vegetables & Jerky Safely
Drying is the oldest food preservation method there is, and it's genuinely simple once you know a few things: the right temperature, a quick pretreatment step most beginners skip, and how to actually tell when something is dry enough to store. Get those right and a dehydrator pays for itself fast on garden overflow, bulk sales, and homemade jerky.
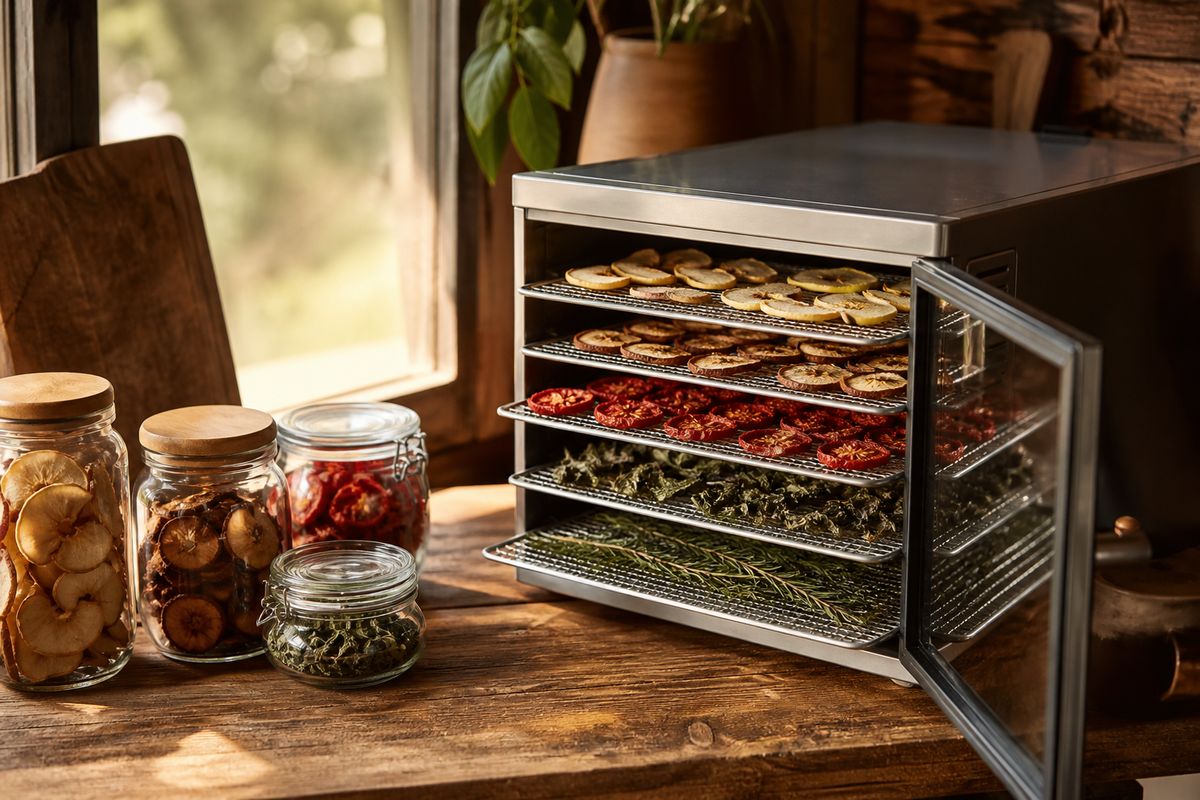
The National Center for Home Food Preservation (NCHFP) calls drying "simple, safe and easy to learn" — and it is, but "simple" isn't the same as "skip the steps." Dried food that's underdone, under-treated, or stored wrong either spoils or turns leathery and gray. The fixes for both are small and specific.
Three ways to dry, and why most people pick one
NCHFP covers three main approaches: food dehydrators, sun drying, and vine drying (leaving produce like beans or onions to finish drying right on the plant). A dedicated dehydrator with an adjustable thermostat is the one worth owning if you're doing this regularly — it's the only method that reliably holds a safe, consistent temperature regardless of the weather. Sun drying needs real heat and low humidity to work; Penn State Extension notes flatly that "high humidity...makes this method impractical" in a lot of climates, which rules it out for most of the country most of the year.
Pretreating fruits and vegetables before they ever hit the dehydrator
Skipping pretreatment is the single biggest reason home-dried fruit comes out dark, mushy, or short-lived. Penn State Extension lays out the standard options:
| Food | Pretreatment | Why |
|---|---|---|
| Most fruit (apples, pears, peaches) | Ascorbic acid dip — 3¾ tsp powdered ascorbic acid in 2 cups water, 10 minutes | Stops browning (oxidation) and helps destroy surface bacteria |
| Fruit, alternative | Equal parts bottled lemon juice and water | Same purpose, pantry-staple option |
| Fruit, alternative | Syrup blanch — simmer 10 min in sugar syrup, stand 30 min | Produces a sweeter, more pliable dried fruit |
| Blueberries, cranberries | Boiling-water dip to crack the skins, then chill | Without cracking the waxy skin, moisture can't escape and the berries won't dry properly |
| Most vegetables | Steam blanch, or ¼ tsp citric acid per quart of water | Slows enzyme activity that keeps degrading the food after harvest |
| Onions, garlic, peppers, herbs | None needed | These dry fine untreated |
Getting the temperature right
Penn State's guidance is specific: start at 145°F while the food still has visible surface moisture, then drop to 135–140°F to finish. That's it — not a wide range, and not "as hot as the dehydrator goes."
How to tell when it's actually done
Texture, not time, is the real test — total drying time swings wildly with humidity, slice thickness, and how full the dehydrator trays are. Penn State's targets: fruit is done when it's pliable and no beads of moisture appear when you press a piece between your fingers; vegetables are done when they're tough, brittle, or crunchy — genuinely hard, not just dry-feeling on the surface.
Conditioning, the insect-egg step, and storage
Two steps most beginners never learn about, both from Penn State's guidance:
Conditioning fruit: even fruit that passes the dryness test can have uneven moisture left between pieces. Pack it loosely into airtight containers for several days and shake daily — moisture redistributes from wetter pieces to drier ones. If you see condensation building up inside the container, it needs more drying time before it goes into long-term storage.
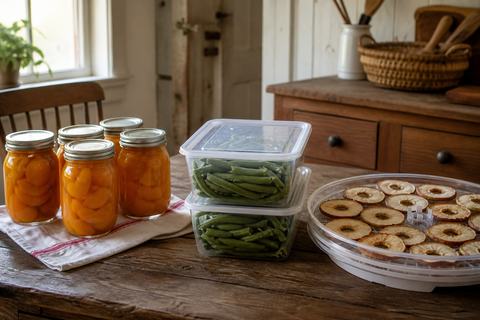
The insect-egg step for unpeeled fruit: dried fruit with the skin left on (apple rings, for instance) can carry insect eggs that survive drying. Penn State's fix is either 30 minutes in a 160°F oven, or 48 hours in a 0°F freezer, before it goes into storage.
Store finished dried food in truly airtight containers, somewhere dark and cool — light and warmth both degrade it faster than almost anything else. For longer shelf life, the freezer or refrigerator beats a pantry shelf. To use dried vegetables later, NCHFP's own tip is simple: soak in water for 1–2 hours before cooking, and use that soaking water in the dish itself — it carries nutrients and flavor that would otherwise go down the drain.
Drying meat: jerky needs one extra step vegetables don't
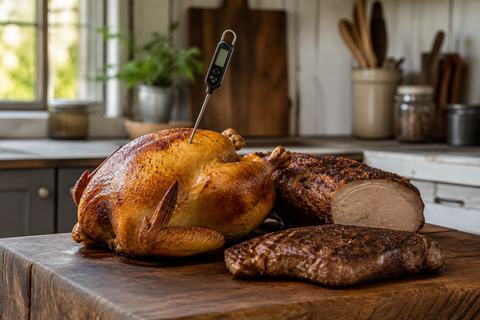
This is the step that actually matters for safety, not just quality. USDA guidance is direct: steam or roast meat to 160°F (poultry to 165°F), checked with a food thermometer, before it ever goes into the dehydrator — not after.
After the pre-heat step, dry in a dehydrator with an adjustable thermostat that holds a steady 130–140°F all the way through — an oven on its lowest setting often can't hold a temperature that low and even, which is the main reason a real dehydrator is worth the money for anyone making jerky regularly.
Ready to dry your own harvest?
For drying times, temperatures and recipes by food, The Homestead Dehydrating Book is a 56-page guide with 25 recipes covering jerky, fruit leather, dried fruit and vegetables, herbs and mixes. Want the temperatures and pretreatments above on one printable reference instead of flipping back to this page? The Dehydrating Times & Temps Chart puts drying times and temps for common fruits, vegetables, herbs and jerky on a single sheet. Full DIY plans for building a sun-powered solar dehydrator — collector box, drying chamber, and airflow design — are in the shop: the Solar Food Dehydrator Build Guide. Once the dried food is jarred and shelved, the Canning Inventory & Pantry Log keeps track of what you've got and how old it is.
Browse the shop →