Home Canning for Beginners: Water-Bath vs. Pressure Canning Explained
Every home canning mistake that actually matters comes down to one question: is this food acidic enough for boiling water to make it safe, or does it need the extra heat only a pressure canner can reach? Get that one decision right and the rest is mostly bookkeeping.
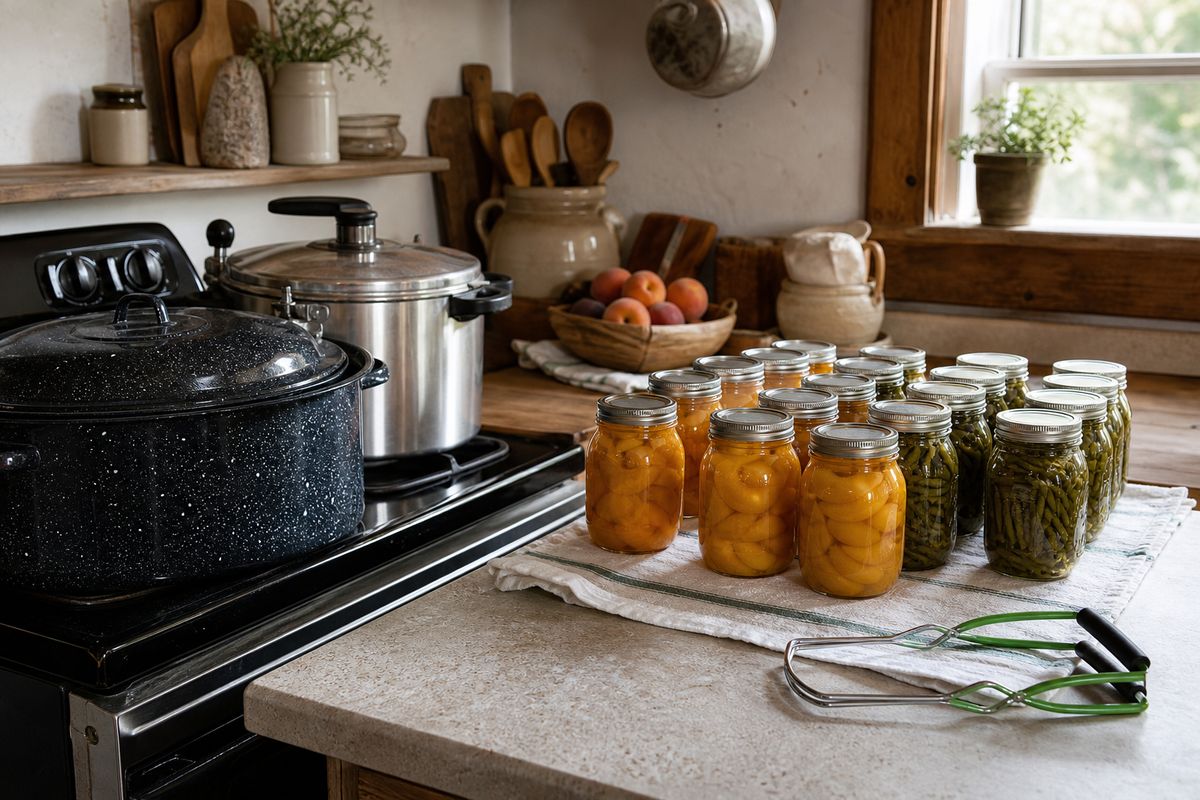
Home canning isn't dangerous when you follow a tested recipe — but it has one real failure mode worth taking seriously: Clostridium botulinum, a bacterium that can grow in low-acid, oxygen-free environments (exactly what a sealed jar provides) and produces a toxin that isn't reliably detectable by taste or smell. The entire structure of safe canning — method choice, processing time, altitude adjustment — exists to make sure that bacterium either can't grow or gets destroyed before the jar is sealed. Here's what university extension programs actually teach beginners.
The two methods, and why acidity decides which one you need
| Method | Max temperature | Used for |
|---|---|---|
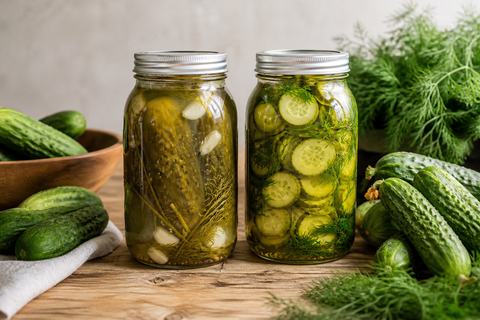
| Boiling-water (water-bath) canning | 212°F | High-acid foods: most fruits, jams/jellies, pickles, salsas made with added acid |
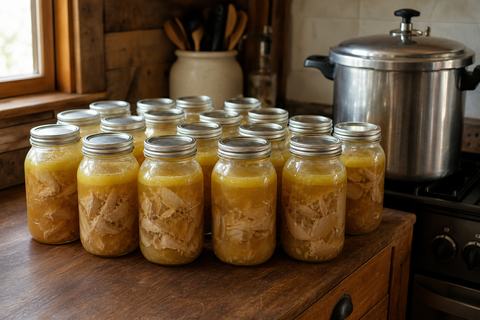
| Pressure canning | 240°F+ | Low-acid foods: most vegetables, meats, poultry, seafood, soups/stocks |
Low-acid foods simply don't have enough natural acidity to stop C. botulinum spores from surviving a 212°F boiling-water bath — only the higher temperature a sealed pressure canner reaches (240°F or above) reliably destroys them. This is also why a recipe can't be moved from one method to the other, and why "family recipe, never had a problem" isn't the same thing as tested-safe: a tested recipe has been measured for exact acidity, density, and jar size, not just cooked successfully once.
Jar and lid prep essentials
- Use Mason jars only — they're made to withstand repeated high heat. Commercial jars from store-bought food (mayonnaise jars, etc.) are more likely to crack or fail to reseal.
- Use two-piece lids: a new flat metal disc (never reuse a flat lid) plus a reusable screw band.
- Fill to the headspace called for in the recipe, remove trapped air bubbles with a non-metal utensil, then wipe the jar rim clean with a damp paper towel before adding the lid — anything on the rim can prevent a seal.
- Tighten the screw band to fingertip tight only — overtightening can trap air inside the jar and prevent it from venting and sealing properly during processing.
| Food type | Headspace |
|---|---|
| Juices, jams, jellies | ¼ inch |
| Fruits, vegetables, pickles | ½ inch |
| Meats, poultry, seafood | 1–1½ inches |
The canning process, step by step
- Wash jars in hot soapy water; keep lids and jars hot until ready to fill.
- Fill jars with prepared food and liquid, leaving the correct headspace for that food type.
- Remove air bubbles, wipe the rim, and add the lid and band fingertip-tight.
- Process for the exact time the tested recipe specifies — boiling-water jars fully submerged, pressure-canner jars processed at the correct pressure for your altitude (see below).
- If the water stops boiling at any point during a water-bath process, bring it back to a full boil and restart the processing time from zero — a partial process isn't a safe one.
- Turn off heat and let the canner cool and depressurize naturally — never force-cool a pressure canner or remove the lid early.
- Remove jars and let them sit undisturbed for 12–24 hours, then check the seal by pressing the center of the lid — it should be concave and shouldn't flex or pop.
- Remove the screw bands before storing (this prevents hidden spoilage under a false seal and stops the bands from rusting on), wash the jars, label with the contents and date, and store in a cool, dark place between 50–70°F.
Altitude changes your processing time and pressure
Water boils at a lower temperature as elevation increases, so both methods need adjusting above 1,000 feet or the process temperature won't actually reach what the recipe assumes.
| Altitude | Water-bath: add to processing time |
|---|---|
| 1,001–3,000 ft | +5 minutes |
| 3,001–6,000 ft | +10 minutes |
| 6,001–8,000 ft | +15 minutes |
| 8,001–10,000 ft | +20 minutes |
| Altitude | Weighted-gauge canner | Dial-gauge canner |
|---|---|---|
| 0–1,000 ft | 10 lb | 11 lb |
| 1,001–2,000 ft | 15 lb | 11 lb |
| 2,001–3,000 ft | 15 lb | 12 lb |
| 3,001–6,000 ft | 15 lb | 13 lb |
| 6,001–8,000 ft | 15 lb | 14 lb |
| 8,001–10,000 ft | 15 lb | 15 lb |
Notice weighted-gauge canners only step up at 1,000 ft (to 15 lb) and then stay there, while dial-gauge canners step up more gradually — the two gauge types aren't interchangeable in a recipe's stated pressure without checking which table applies.
Common beginner mistakes
- Using an untested recipe, or a tested recipe with substituted ingredients (thickeners, oil, or extra low-acid vegetables can all change the safe processing time).
- Skipping the altitude adjustment because "it hasn't been a problem yet."
- Overtightening lids, which can prevent proper sealing during processing.
- Opening a pressure canner before it has fully depressurized on its own.
- Tasting a jar that looks, smells, or spurts liquid oddly when opened. If in doubt — including a lid that isn't concave, a bulging lid, or a spoiled smell — throw it out without tasting it.
Keep track of every batch you put up
Want every tested recipe, altitude table and pressure setting in one place? The Homestead Canning Book is a 56-page guide with 25 recipes, from strawberry jam and salsa to green beans and stock, and a plain-English chapter on what never to can. If you would rather ferment than can, The Homestead Fermenting Book covers kraut, kimchi and pickles with no canner at all. Once you're canning regularly, knowing what's actually in the pantry (and how old it is) is the next problem to solve. The Canning Inventory / Pantry & Freezer Log tracks every jar by batch and date, and The Canning & Preserving Times Chart puts water-bath and pressure processing times for the most common foods on one printable reference sized to frame near your canning station (there's also a cuter storybook-style version of the same chart, if that fits your kitchen better). Finished jars deserve a label, too: the Fall Pantry Labels Printable has autumn jar, spice and preserves labels you print and cut at home.
Browse the shop →