Processing a Meat Rabbit at Home: A Beginner's Guide to Dressing, Dress-Out & Chilling
Raising rabbits to a healthy grow-out weight is the half of meat-rabbit keeping most beginner guides cover well. The other half — the actual processing day — has its own real numbers (age, weight, dress-out percentage) and a specific food-safety sequence worth following exactly rather than improvising.
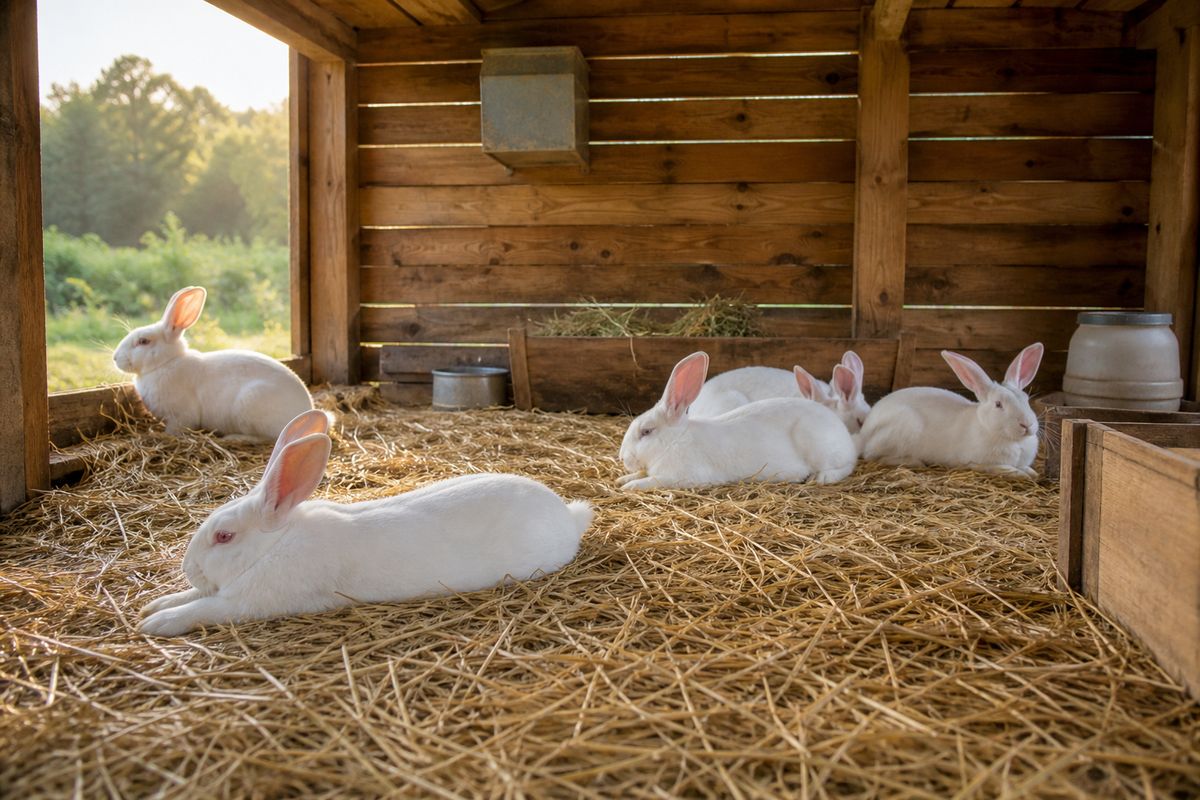
New to keeping meat rabbits at all? Start with our raising backyard meat rabbits guide for housing, breeding, and feed. This article picks up on the day most of that content stops short of: processing.
Knowing when a fryer is actually ready
"Fryer" isn't a casual term — it's a weight-and-age class. Oregon State University Extension defines a fryer as a young rabbit under 10 weeks old, weighing between 3.5 and 5.5 lb live weight: young enough that the meat is tender, with no need for the slower cooking an older "roaster" class rabbit needs. Processing within that window, rather than letting a rabbit grow well past it on the theory that bigger is better, is what actually determines whether you get a fryer's tender meat or a tougher, older carcass.
What dress-out percentage actually tells you
Dress-out (or "dressing") percentage is simply carcass weight divided by live weight, and it's the number that tells you how much actual meat a given live rabbit will put on your table — useful for planning how many rabbits a given meal or batch of canning needs. Mississippi State University Extension's own breed-by-age data shows it isn't a flat number:
| Age | New Zealand | Dutch |
|---|---|---|
| 8 weeks | 55.9% | 60.3% |
| 13 weeks | 59.2% | 63.3% |
| Mature | 58.2% | 62.8% |
As a rule of thumb, rabbits in average condition dress out around 55%, and well-conditioned rabbits reach 60% or higher. Dressing percentage generally climbs with age up to maturity — one more reason not to process noticeably underweight, too-young rabbits if you can avoid it.
Humane dispatch
Mississippi State Extension describes two accepted methods, both intended to render the rabbit instantly unconscious before anything else happens:
- Cervical dislocation: hold the rabbit firmly by the rear legs and head, stretch it out fully, then pull sharply while bending the head backward.
- A hard, quick blow to the skull just behind the ears, using a blunt stick or the side of the hand.
The dressing sequence, step by step
Once the rabbit is dispatched, Mississippi State Extension lays out the sequence as:
- Bleed: hang the rabbit by one hind leg above the hock joint and remove the head right away so it bleeds completely.
- Remove the forefeet.
- Skin: cut the skin around both hock joints, then cut across the lower body between those cuts. Remove the tail and pull the skin down and forward over the body. Young, fryer-age rabbits skin noticeably easier than older ones — another practical reason to process within the fryer window rather than letting a rabbit get older.
- Eviscerate: with the carcass still hanging, cut from near the anus to the midpoint of the lowest rib. Remove the intestinal tract and lungs. The liver, heart, and kidneys stay with the carcass. Remove the carcass from the hanger and cut off the rear feet at the hock joints.
- Wash and chill: rinse the carcass in clean, cold water to remove hair and debris, then store it cold — preferably at 35°F and never above 40°F. Don't let dressed carcasses sit in water any longer than needed to rinse them; a long soak lets the meat absorb water that can become a contaminant.
Why the carcass needs a day's rest before you cut it
It's tempting to process straight through to the freezer or the pot in one session, but Oregon State Extension's guidance is specific here: wrap and refrigerate the carcass for 24 hours before cutting it into parts. That rest lets the fat harden, which makes the carcass meaningfully easier to cut cleanly — a small patience step that pays off the moment you pick up the knife.
Saving the pelt, if you want to
Mississippi State Extension notes plainly that skinning for pelts usually isn't worth the time for a small home producer economically — but if you want to keep hides anyway, the basics are: trim off any fat left on the skin, then while it's still warm and moist, turn it inside out and stretch it on a wire shaper (a simple frame made from heavy galvanized wire works), securing the rear legs. Dry it in a well-ventilated spot out of direct sunlight, with no salt or chemicals on the hide itself — a bit of naphthalene or paradichlorobenzene in the storage packaging afterward helps keep insects off. Actual tanning is its own separate project with its own chemical-handling steps, beyond what this guide covers; your state extension office's rabbit-processing publications typically document it in full if you want to go further.
After processing
Once the carcass is chilled and ready, our guide to safe internal temperatures for homestead meat covers the cooking target, and our guide to canning meat, poultry, and broth safely covers pressure-canning rabbit (or turning the carcass into stock) if you're putting it up rather than cooking it right away.
The short version
A fryer is a specific window — under 10 weeks, 3.5 to 5.5 lb live weight — not just "whenever it looks big enough," and processing inside that window gets you both a higher dress-out percentage and meat that's genuinely easier to skin and cook. The dispatch-bleed-skin-eviscerate-chill sequence is the same one used commercially, scaled down for one or two rabbits at a time, and the 24-hour chill before cutting is a real step, not an optional nicety.
Track every batch, from kindling to the freezer
Our Meat Rabbit Record Book has a dedicated processing/yield log to record exactly the live weight, dress-out, and processing-date numbers this guide walks through, litter over litter. Housing rabbits for grow-out? The Off-Ground Rabbit Hutch & Predator-Proof Run Build Guide covers a hutch sized for exactly this.
Browse the shop →More Goats, Sheep, Pigs & Cows guides
Free tool: How many animals per acre calculator →