Home Dairy Basics: Making Cheese, Yogurt & Butter from Fresh Milk
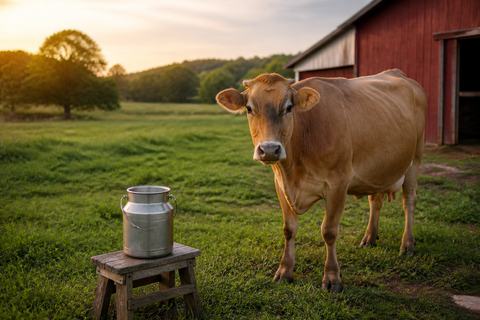
A single family cow or a pair of dairy does produces far more milk than most households drink fresh — which is exactly why cheese, yogurt, and butter become part of keeping one. None of the three needs special equipment to start, but all three have a food-safety side that's easy to skip past if you're just following a recipe off the internet.
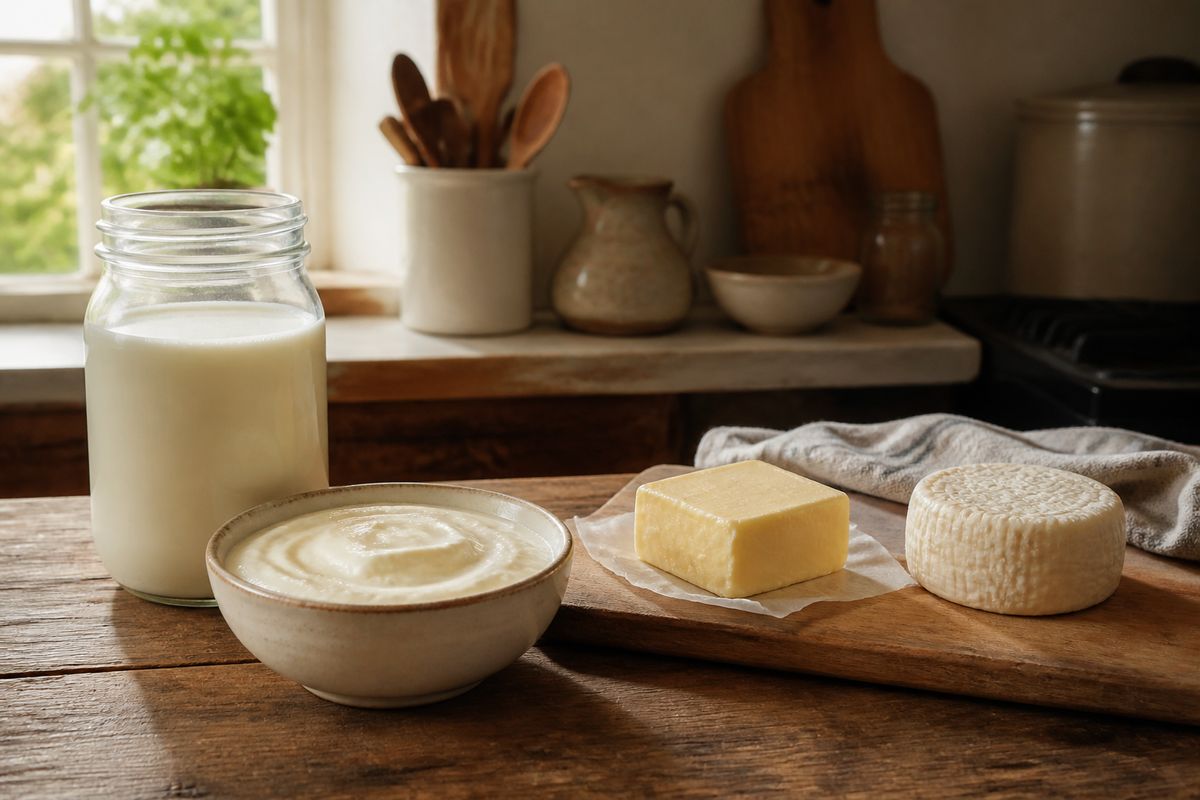
This guide is the step that comes after the milk itself — if you're still deciding whether a cow or goats are the right fit, start with the family milk cow guide or the dairy goat guide first.
Start clean: sanitation isn't optional
Penn State Extension's home cheesemaking guidance draws a distinction worth keeping in mind for all three projects below: cleaning removes soil, and sanitizing reduces microbes on a surface that's already clean — you can't sanitize something dirty, and skipping straight to a sanitizer rinse on unwashed equipment does nothing useful. Their recommended sequence is four steps: pre-rinse with warm water, wash with detergent, rinse thoroughly, then sanitize.
- A common home sanitizer is 2–3 teaspoons of household bleach per gallon of water, left in contact with the surface for 20–30 seconds, then air-dried rather than wiped.
- Check concentration, don't guess. Bleach strength varies bottle to bottle; a working sanitizer should measure 100–200 ppm chlorine (test strips are cheap), since too little under-sanitizes and too much above 200 ppm can leave a residue that affects the food itself.
- Use food-grade materials — stainless steel or sturdy, uncracked plastic — and retire anything scratched, nicked, or pitted, since damage like that gives bacteria somewhere to hide that a normal wash won't reach.
- A dedicated set of pots and utensils for dairy work, kept separate from general kitchen use, is worth the small extra cost if you're doing this regularly.
- Calibrate your thermometer periodically rather than trusting it indefinitely — all three projects below live or die on hitting the right temperature.
Raw milk or pasteurized? What the research actually says
This is the one place extension guidance is unambiguous rather than a matter of preference: Penn State Extension does not recommend raw milk for home cheesemaking, citing the real risk of pathogens surviving into the finished product and the legal requirements around raw-milk cheese in the U.S. For yogurt and butter, store-bought pasteurized milk and cream work well and are the easiest starting point — just avoid ultra-pasteurized or UHT (ultra-high-temperature) products, since the extra heat they've already been through can interfere with how a curd forms in cheesemaking specifically. Different milks (cow, goat, sheep) will also behave a little differently in any of these recipes, so don't expect a straight swap to behave identically the first time.
Yogurt: the most forgiving place to start
University of Illinois Extension's home yogurt guidance lays out a process that scales down easily to a single quart:
- Heat 1 quart of milk slowly to 180–185°F, stirring occasionally so it doesn't scorch on the bottom of the pan.
- Cool it down to 108–115°F before doing anything else — adding culture to milk that's still hot kills it outright.
- Stir 2 tablespoons of plain yogurt with live cultures into about a cup of the warm milk until smooth, then mix that back into the rest of the pot. (A starter made this way should be used within 5–7 days for its own next batch — fresher starter has more active bacteria.)
- Pour into covered containers and hold at 108–115°F for 6–10 hours, undisturbed. An oven preheated and then turned off, or a cooler/slow-combo filled halfway with roughly 120°F water around the containers, both work as a simple home incubator.
- Refrigerate at 40°F or below once it's gelled, and eat within about 14 days.
Butter: no special equipment required
NC State Cooperative Extension's shake-in-a-jar method is about as low-tech as home dairy work gets, and it works well as a first project with kids:
- Fill a sturdy, tempered glass jar about halfway with heavy (35%) cream. A couple of clean glass marbles dropped in will speed things up.
- Seal tightly and shake. The cream whips first, then — after more shaking — the whipped texture breaks and liquid sloshing returns as the butterfat separates from the buttermilk into a solid mass. Expect roughly another minute of shaking past the whipped-cream stage before it fully separates.
- Pour off the buttermilk and save it — it's genuinely useful for baking, not a byproduct to toss.
- Rinse the butter under cold water while kneading it gently to work out the remaining buttermilk. This step matters more than it looks: leftover buttermilk in the butter is what makes it turn rancid faster.
- Salt to taste (optional), or fold in citrus zest or finely chopped herbs for a flavored butter.
Homemade butter has no preservatives, so it spoils faster than the store-bought block in your fridge door — plan to use it within a few days, refrigerated.
An easy first cheese
Penn State Extension's advice for a beginner is to start simple rather than reaching for an aged, mold-ripened cheese on the first attempt — those can take months and carry a much higher risk of something going wrong unnoticed. Their go-to easy example is a ricotta-style cheese made by adding an acid (vinegar) to warm milk to separate the curd, strained through cheesecloth. A few things apply across any beginner cheese recipe:
- Read the whole recipe before starting, and confirm every ingredient and piece of equipment is on hand — cheesemaking isn't a good project to improvise mid-step.
- Don't multitask or take unscheduled breaks partway through. Extension guidance is specific that interruptions can compromise both quality and safety, since timing is part of what makes a curd set correctly.
- Dip homegrown herb flavorings briefly in boiling water or alcohol first if you're adding fresh herbs, rather than straight from the garden.
- Different milk types change the result. Most recipes assume regular (not ultra-pasteurized) homogenized cow's milk; substituting goat or sheep milk, or a different pasteurization level, can change the curd you get even following the same recipe.
Keep a batch notebook
Penn State's extension guidance specifically recommends keeping a dedicated record — date, recipe, ingredients, any changes made, and what happened — for every batch. For cheese in particular, where a result can take days to fully reveal itself, that batch sheet is often the only way to figure out what actually caused a problem (or what actually worked) well enough to repeat it.
From a milk surplus to a full home dairy
If dairy goats are the plan (or already the reality), The Homestead Dairy Goat ebook walks through housing, feeding, and kidding alongside six home cheesemaking and dairy recipes built specifically around goat milk's higher butterfat. For tracking a milk cow's production, breeding, and health day to day, the Dairy Cow Record Book covers the logs this guide's sanitation and batch-notebook habits feed directly into.
Browse the shop →More Goats, Sheep, Pigs & Cows guides
Free tool: How many animals per acre calculator →