Baking Bread at Home: Yeast, Sourdough & No-Knead for Beginners
Most "beginner bread" advice skips the part that actually matters: the three methods work on three different mechanisms, and the number one beginner mistake — water too hot for the yeast — happens before the dough is even mixed.
If you're already stocking a pantry for year-round baking, see our home canning guide for putting up what you grow alongside what you bake.
Start with the right flour
Every bread method below depends on gluten — the protein network that forms when flour and water mix and get worked (by hand, by a mixer, or just by time). How much gluten a flour can form depends on its protein content, and Iowa State University Extension and Outreach's flour guidance lays out the ranges plainly:
| Flour | Protein content | Best for |
|---|---|---|
| Bread flour | 12–14% | Yeast breads, chewy/structured loaves |
| All-purpose flour | 9–12% | A workable middle ground for most yeast breads |
| Whole wheat flour | 11–15% | Denser, nuttier, higher-fiber loaves |
| Pastry flour | 8–9% | Tender baked goods, not bread |
| Cake flour | 7–8% | Cakes only — too low in protein for bread |
Bread flour can substitute for all-purpose 1-to-1 in most recipes, though the crumb comes out slightly chewier. Whole wheat and other whole-grain doughs need longer kneading and rise more slowly than white-flour doughs, so don't judge them against a white-bread timeline.
Yeast bread: the three numbers that actually matter
The University of Kentucky Cooperative Extension Service's bread-basics guidance boils most yeast-bread failures down to temperature mistakes:
- Liquid for active dry yeast: 100–115°F. Hotter than that starts killing the yeast before it ever gets to work.
- Liquid for quick-rise/instant yeast: 120–130°F — genuinely hotter than active dry, which is a common point of confusion if a recipe doesn't specify which yeast it means.
- Dough rise (proofing) temperature: 80–85°F is ideal. Warmer speeds up the rise but can push the dough toward a sour taste and smell; cooler just takes longer.
Proofing the yeast itself (dissolving it in warm water with a pinch of sugar before mixing) is optional with fresh, reliable yeast — but it's a useful check: foam and bubbles within 10 minutes means the yeast is alive and active.
Kneading is what builds that gluten network in the first place — well-kneaded dough turns smooth, satiny, and pliable rather than sticky and ragged. More kneading improves texture up to a point, but a stand mixer can genuinely overknead dough, so watch for that smooth stage rather than kneading on a fixed timer. Acidic add-ins (buttermilk, yogurt, sour cream, lemon juice) speed up rising; dried fruit, nuts, and whole grains slow it down. And if a dough over-rises and collapses, it's not ruined — reshape it, let it rise again, and bake as usual.
No-knead bread: trading kneading for time
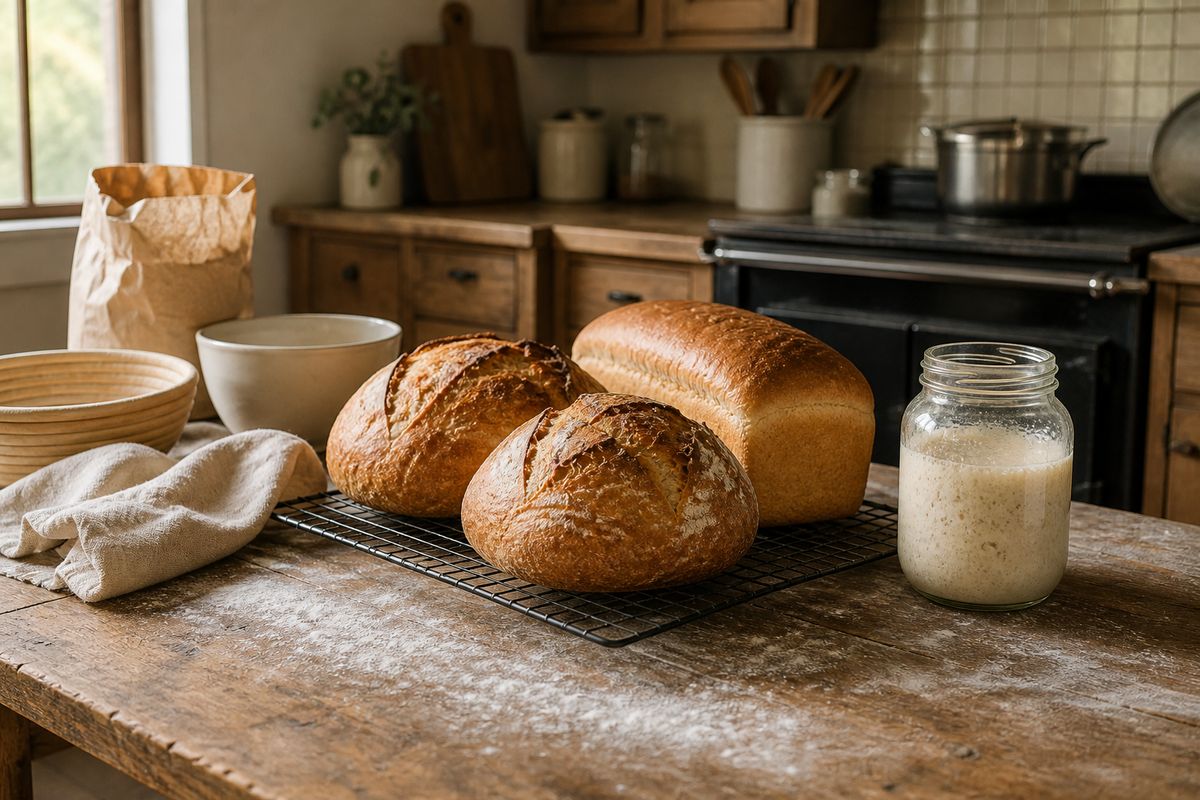
No-knead bread doesn't skip gluten development — it just lets a long, slow rise do the work that kneading usually does. The University of Arkansas Cooperative Extension Service's version of the well-known Sullivan Street Bakery method:
- Stir flour, instant yeast, and salt together, then add water just until no dry flour shows — about 30 seconds to a minute of mixing, no kneading.
- Cover and let it rest at room temperature (roughly 65–72°F) for a full 12 hours.
- Fold the dough once or twice, let it rest 15 minutes, then shape it into a ball.
- Place it seam-side down on a floured towel, cover, and let it rise 1–2 hours until it's noticeably more than doubled.
- Bake in a preheated, covered pot at 450–500°F for 30 minutes, then uncovered for another 15–30 minutes until deeply browned.
The covered pot does double duty here: it traps the steam the dough releases, which is what gives no-knead loaves their characteristically crackly, artisan-style crust without a steam injection oven.
Sourdough: building your own leavening from scratch
Sourdough skips commercial yeast entirely, using wild yeast and bacteria already present in flour, water, and the air. Clemson Cooperative Extension's Home & Garden Information Center lays out a realistic first-starter timeline — it takes longer than most beginners expect, and that's normal:
- Day 1: Mix 1 cup (106 g) flour with ½ cup (113 g) water in a jar. Cover loosely and keep it somewhere warm for 24 hours.
- Day 2: Discard half the starter by weight, then feed it 106 g flour and 113 g water. Rest another 24 hours.
- Day 3: Expect some bubbling and a yeasty smell. Start feeding every 12 hours from here on.
- Days 4–5: Keep the 12-hour feedings going. By day 5, it should roughly double after each feeding and show plenty of small bubbles.
- First bake: Realistically a couple of weeks out, once the starter is reliably active on a routine feeding schedule.
Ongoing maintenance: feed at a minimum 1:1:1 ratio (equal weights of starter, flour, and water), discarding the excess each time. Keep it at room temperature and feed daily, or move it to the fridge and feed just once a week.
Discard doesn't have to go to waste — it bakes fine into pancakes, scones, tortillas, and biscuits that don't need the starter to be at its peak.
23 recipes, all three methods, in one book
This article covers the mechanics; The Homestead Bread Book walks through all of it start to finish — a flour guide with baker's percentages, 8 yeast breads, 8 no-yeast quick breads, a full day-by-day sourdough starter plan with 5 sourdough recipes, and a troubleshooting chart for when a loaf doesn't turn out right. Already stocking the pantry for the rest of the year? See the Canning Inventory & Pantry Log to keep track of what's put up alongside what's baked.
Browse the shop →