Incubating & Hatching Chicken, Duck & Turkey Eggs: A Beginner's Guide
Hatching your own replacements or expanding a flock without buying more chicks sounds simple — until the hatch rate comes in low and there's no obvious reason why. Almost every bad hatch traces back to one of a handful of things: eggs that sat too long before going in, a thermometer that was never checked, or turning that stopped too early (or too late).
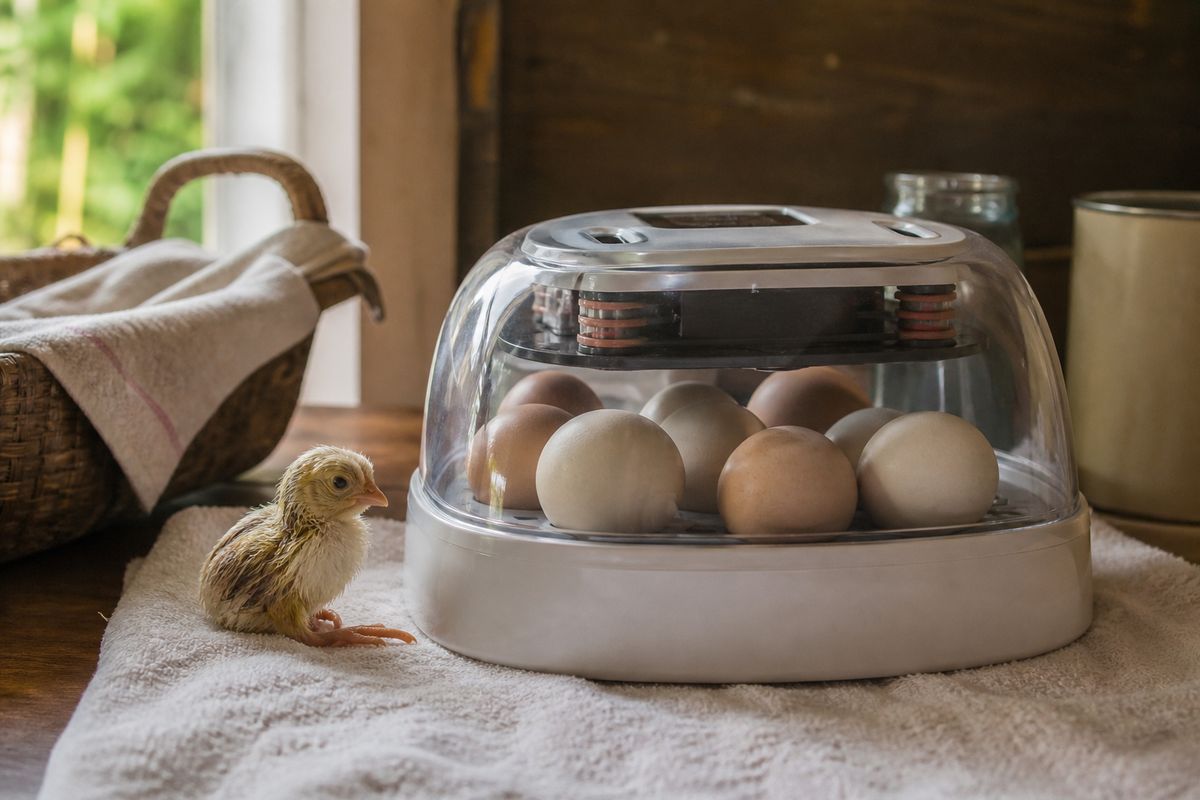
This guide covers what actually happens between setting an egg and a chick breaking out of it, with the numbers extension sources actually publish — not just "set your incubator and wait." It applies across the shop's poultry lines: the Chicken Flock Record Book, the Duck Flock Record Book, and the Turkey Flock Record Book all have a breeding section that assumes this step happens somewhere — this is that step.
Before you set a single egg
Hatch success is decided before the incubator even gets turned on. LSU AgCenter's guidance on hatching eggs is specific about what makes an egg worth setting:
- Use undamaged, clean, fertile eggs from your own flock or a reliable source — a hairline crack you can't see is still a path for bacteria in.
- Store fewer than 10 days before setting. A separate 4-H extension source puts fertility loss on a shorter clock: eggs held at room temperature stay viable about 6–7 days, and fertility drops the longer they sit, especially if they're stored too warm or too dry.
- Store at 55–65°F and about 75% relative humidity, large end up.
- Turn eggs stored longer than a week, and handle them gently the whole time.
- Let eggs warm to room temperature for 4–8 hours before loading them into the incubator — going straight from a cool storage spot into a hot incubator stresses the egg.
How long each species takes
Set your calendar before you set the eggs — count back from the hatch date you want:
| Species | Incubation period |
|---|---|
| Chicken | 21 days |
| Duck (most breeds) | 28 days |
| Muscovy duck | 35–37 days |
| Turkey | 28 days |
Temperature: still-air and forced-air incubators are not the same
This is the single most common point of confusion for a first-time hatcher, and it's the reason two reputable sources can publish different-looking numbers without actually disagreeing. Mississippi State University Extension explains why: a forced-air incubator (one with a circulating fan) should run 99–100°F, measured anywhere inside, because the fan keeps the air mixed and even. A still-air incubator (no fan) needs to run hotter — 102°F, with the thermometer bulb held level with the tops of the eggs — because without circulation the air at the top of the egg is measurably warmer than the air at the bottom, and the higher setting is what makes the egg itself average out to roughly 100°F.
LSU AgCenter gives a tighter forced-air-style target of 99.5°F ± 0.5°, with one important rule: don't chase small swings. Wait at least 4 hours before adjusting anything, unless the temperature climbs above 102°F — in which case act immediately. Mississippi State's extension sheet is blunt about why: a degree or two of overheating, even briefly, can kill embryos within 15–30 minutes, while a temperature that runs slightly low won't kill the batch, it just stretches out the incubation time and can leave you with weaker chicks.
Humidity
Sources vary here more than on temperature, which mostly comes down to differences in incubator design, placement, and how humidity is measured — not a real disagreement about biology. One 4-H extension guide recommends holding roughly 43–44% relative humidity for the full incubation period, warning that humidity above 45% can cause developmental problems and too little dries out the shell membrane, making it hard for the chick to break free at hatch. LSU AgCenter's own figure is 58% through incubation. Rather than treat either number as the one true answer, follow your specific incubator's instructions, keep a hygrometer in there if you can, and track your own hatch results from one batch to the next — that's more useful than any single published figure.
Both sources agree on what happens at the end: humidity should go up for the final stretch. LSU AgCenter calls for raising it to 65–70% and dropping the temperature about one degree once lockdown starts.
Turning
Turning keeps the embryo from sticking to the inside of the shell membrane and supports normal development. Mark one side of each egg with a soft-pencil X so you can actually track whether it's being turned, not just assume the machine is doing it. Guidance converges on turning an odd number of times a day — three times (morning, midday, evening) is the commonly cited schedule — and LSU AgCenter puts the minimum at at least 5 times a day if you're turning by hand. Either way, turning stops a few days before hatch (see Lockdown, below) — don't turn eggs through the entire incubation period.
Candling: checking which eggs are actually developing
Candling — holding an egg up to a bright, concentrated light in a dark room — lets you see inside the shell without opening it. LSU AgCenter recommends candling at 8–12 days into incubation. A developing embryo shows up as a dark spot near the large end of the egg, with a faint web of blood vessels spreading out from it; that spot grows larger as the days pass. Some embryo loss during incubation is normal and expected — don't assume a mistake was made just because not every egg makes it. Eggs that show no development, or that develop and then clearly stop, are worth pulling so they don't risk the rest of the batch.
Lockdown: the final stretch
"Lockdown" is the period right before hatch when you stop turning, raise humidity, and close the incubator for good until the babies arrive. For chicken eggs on a 21-day schedule, that means stopping turning on day 18 — the last 3 days of incubation, which lines up with LSU AgCenter's general rule of halting turning 3 days before the expected hatch date across species. Top off the water reservoir if your incubator calls for it, close the lid, and leave it closed until hatching is finished — opening it during lockdown drops the humidity right when the chicks need it most for breaking through the shell membrane.
Hatch day
Pipping — the first visible crack where a chick starts pecking through the shell — can take anywhere from 1 to 6 hours before the chick fully emerges, and that's normal, not a sign of trouble. Once hatched, chicks need another 4–6 hours to dry off and become active, and some guidance suggests leaving them undisturbed for closer to 24 hours, or until their down or feathers are fully dry, before moving them anywhere. Resist the urge to help a slow hatcher out of the shell — LSU AgCenter notes that chicks assisted out of the shell too early often don't survive or thrive as well as ones that finish the job themselves. Leave the incubator closed and let the process run.
When a hatch disappoints: common causes
If hatch rate comes in low, the usual suspects, per 4-H and LSU AgCenter guidance, are:
- Poor hen (or breeding flock) diet before the eggs were laid — nutrition affects chick viability more than most beginners expect.
- Incorrect incubator temperature or humidity — an inaccurate thermometer is one of the most common, and most fixable, causes of a bad hatch.
- Eggs stored too long, or stored too warm, before they were set.
- Deformities or weak embryos that simply don't survive to hatch — not every loss has an operator cause.
Keeping notes each round — exact temperature and humidity readings, storage time, candling results — is what turns a disappointing first hatch into a better second one.
From hatching to a full flock record
Once eggs are set, tracking which hatch, which hens they came from, and how each hatchling grows out is exactly what the shop's flock trackers are built for: the Chicken Flock Record Book, Duck Flock Record Book, and Turkey Flock Record Book each include breeding and hatch logs. If chickens specifically are the plan from brooder to table or nest box, Backyard Chickens from Scratch walks through brooding, housing, and feeding once the chicks are out of the incubator.
Browse the shop →More Chickens & Poultry guides
Free tool: Chicken coop size calculator →