
Building Your Own Beehive: A Beginner's Guide to Langstroth Hive Construction
Deciding to keep bees is one set of questions — what hive type, how many colonies, where bees come from. Actually building the box they'll live in is a different one: exact dimensions, the "bee space" rule that makes the whole system work, what to build it from, and where to put it once it's done.
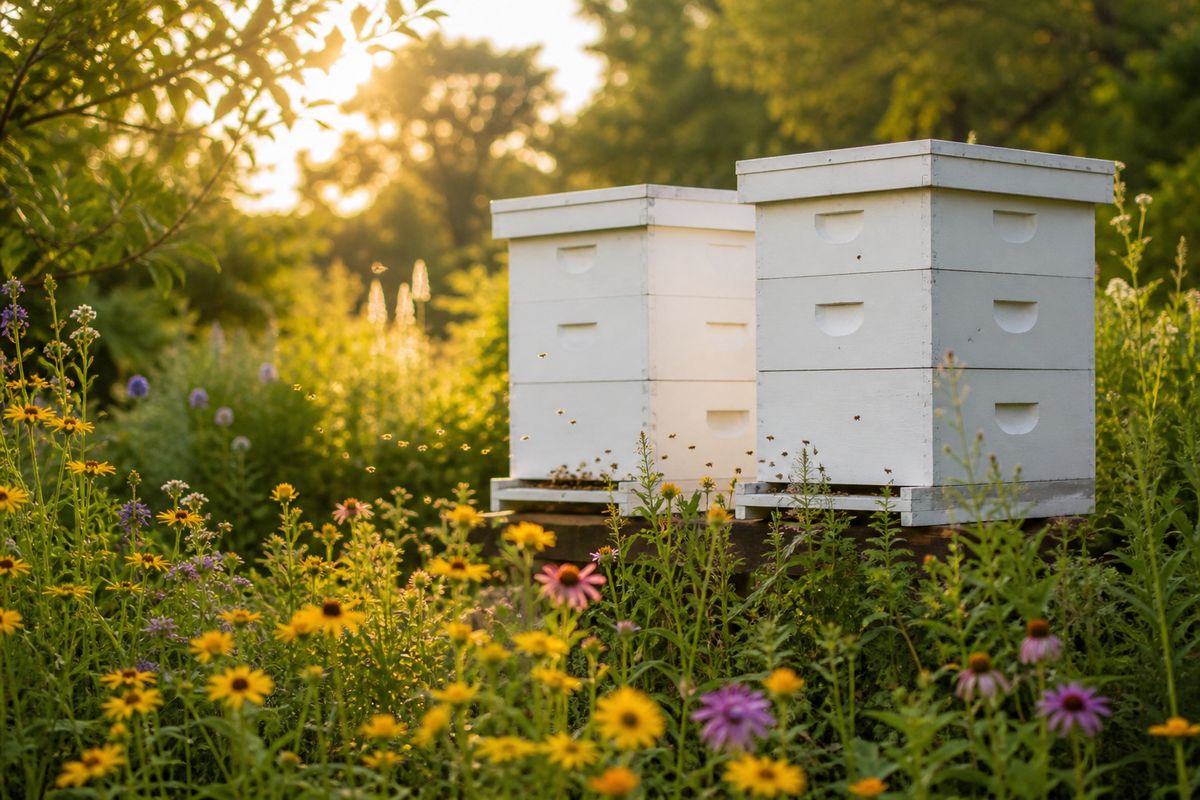
The standard Langstroth hive is designed around a handful of fixed measurements that aren't arbitrary — get them wrong and frames won't be interchangeable between boxes, bees will glue everything together with propolis, or the hive simply won't hold up to weather. The good news is that every one of these numbers is published and well established. Here's what to build to, sourced from a provincial beekeepers' association construction guide and university apiculture programs.
The box system and its dimensions
Every Langstroth box — bottom hive body up through the honey supers — shares the same footprint so any box can stack on any other: an outside length of 20 in. and a width of 16½ in. What changes between box types is depth:
| Box type | Depth | Typical use |
|---|---|---|
| Standard (deep) | 9½ in. | Brood chamber — where the queen lays and the colony overwinters |
| Dadant | 6⅝ in. | Medium super — a common honey-super depth, lighter to lift full |
| Shallow | 5 13/16 in. | Shallow honey super — lightest option when full, often a beginner's first super choice |
A 10-frame deep hive body is the standard, most widely stocked brood-box size in the U.S. — extension apiculture programs describe it simply as "a large wooden box that holds 10 frames of comb." Use pine or cedar for the boxes themselves; the top cover and bottom-board floor are commonly built from ½ in. plywood instead, since that panel doesn't need to flex or hold a frame rabbet.
Bee space: the one measurement that makes the system work
Parts list and assembly
A complete hive, built bottom to top, has seven parts:
- Hive stand — supports the hive off the ground to keep the bottom board dry.
- Bottom board — the floor the hive rests on; many modern builds cut a rectangular section out of a solid bottom board and cover it with wire mesh (a screened bottom board) to help with Varroa mite management while keeping the landing-board portion solid.
- Hive body (brood chamber) — one or two 10-frame deep boxes where the queen lays and the colony lives year-round.
- Queen excluder (optional) — a grid placed between the brood chamber and the honey supers that's sized to let workers through but keep the larger queen out of the honey.
- Honey supers — additional boxes (Dadant or shallow depth) added above the brood chamber as the nectar flow fills frames.
- Inner cover — sits under the outer cover; keeps bees from gluing comb directly to the roof and adds an insulating air gap.
- Outer cover — the weatherproof roof.
Assemble interior frames with wood glue and nails (or screws). For the boxes themselves, university apiculture programs recommend going a step further: assemble with both wood glue and screws, caulk the joints, and build from rot-resistant wood — done this way, you can often skip chemical wood preservatives on the hive entirely.
Weatherproofing — what to paint, what never to paint
Exterior surfaces only — outer covers, supers, hive bodies, and bottom boards — should get two to three coats of a non-toxic, exterior-rated paint or latex stain, repainted roughly every three to five years. Avoid very dark colors, which absorb excess heat in summer; beyond that, the color itself doesn't matter to the bees.
If you do want a wood preservative instead of (or in addition to) paint, extension guidance is specific: use only a product listing copper naphthenate as the active ingredient, and apply it only to surfaces facing the outside of the colony — many other wood preservatives are toxic to bees. For full protection, the wood actually needs to be submerged in the preservative for hours to days, which is rarely practical for a backyard build — which is exactly why the glue-plus-screws-plus-caulk-plus-paint approach above is the more realistic route for most first-time builders.
Siting the hive once it's built
Where you put the finished hive matters almost as much as how you built it:
- Orientation: face the entrance east or southeast, so morning sun warms the hive early and gets foragers moving; avoid a north-facing entrance, which lets cold winter wind blow straight in.
- Sun and shade: aim for morning sun with afternoon shade. Full shade attracts small hive beetles; full sun all day increases how hard the colony has to work to cool the hive.
- Stand height: there's no single required number — extension guidance simply says to build the stand to a height that keeps the bottom board off damp ground and is comfortable for you to inspect at, which in practice usually lands somewhere between knee and hip height.
- Water: bees need a water source within about 100 yards of the hive, or they'll find your neighbor's birdbath instead. A shallow dish with pebbles or floating straw (so bees don't drown) solves this cheaply.
- Clearance and flight path: keep hives at least 25 ft off property lines, with a clear 10 ft flight path in front of the entrance before it crosses a sidewalk, trail, or area where people or other animals pass. A dense hedge or solid panel fence a few feet in front of the entrance forces bees to climb steeply on exit, routing their flight path up and over foot traffic instead of straight through it.
Full build plans, ready to follow
Complete cut lists, hive-stack diagrams, and step-by-step assembly instructions are in the shop: the Homestead Backyard Beehive Build Guide. New to keeping bees altogether? Start with How to Start Beekeeping: A Beginner's Guide to Your First Hive, and once your colonies are up, track mite checks, feeding, and harvests with the Beekeeping & Apiary Record Book.
Browse the shop →More Beekeeping guides
- Sources:
- Ontario Beekeepers' Association — Beehive Construction
- University of Florida IFAS Extension — Preserving Woodenware in Beekeeping Operations (AA244)
- Texas A&M AgriLife Extension (Bexar County) — Setting Up Your Apiary
- University of Georgia Bee Program — Getting Started: Beekeeping Equipment