
How to Start Beekeeping: A Beginner's Guide to Your First Hive
Hive type, how many colonies to start with, where bees actually come from, and the month-by-month calendar of a first year — with numbers pulled from university extension apiculture programs.
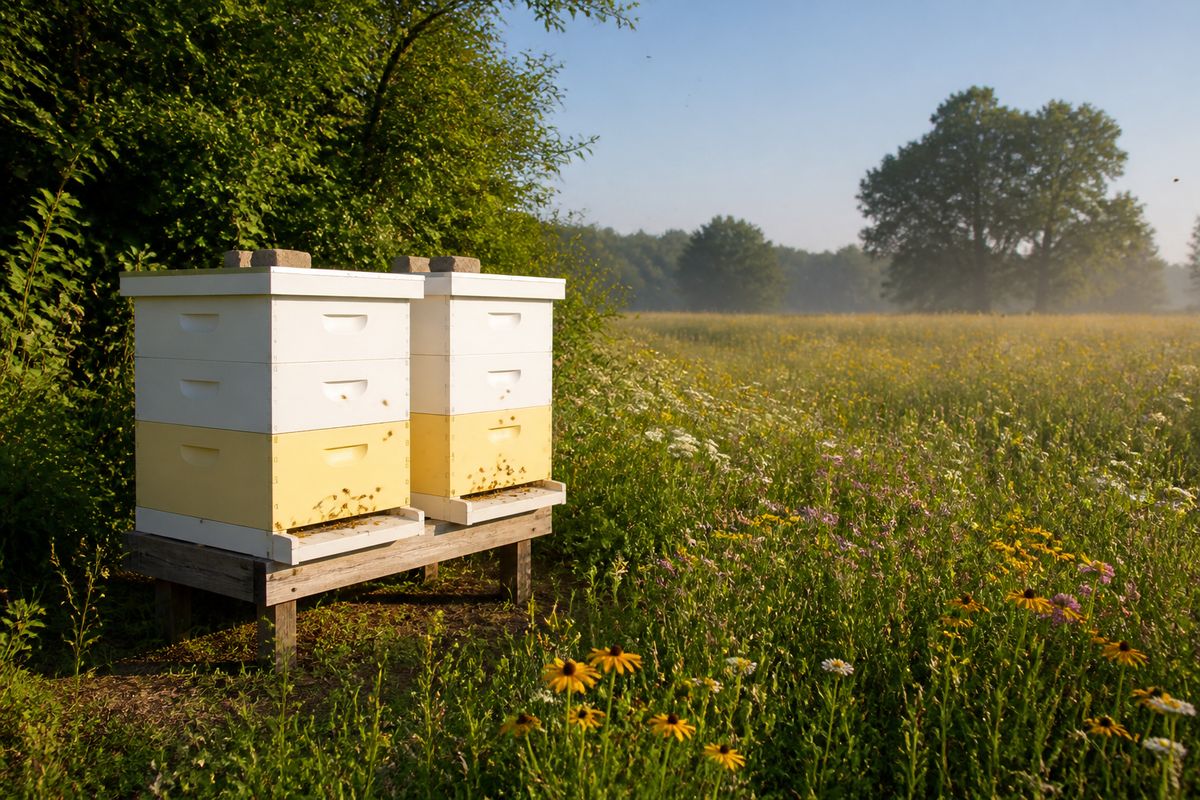
Beekeeping has a steeper "figure it out as you go" curve than most homestead animals, mostly because a colony's needs change every few weeks and mistakes (a missed mite treatment, a starved hive in March) often aren't visible until it's too late to fix. The good news is that the actual mechanics — what to buy, when to order bees, and what to check each month — are well documented by university extension apiculture programs. Here's the version with real numbers.
Start with more than one hive
It's tempting to start small with a single hive, but most extension guidance actually recommends against it: aim for two to five hives as a beginner. A single hive gives you no comparison point — if it's struggling, you won't know whether that's normal or a real problem — and if that one colony is lost over winter (a common first-year outcome even when everything is done right), you're starting over from zero. Two or more hives side by side let you compare, and let you rescue a failing colony by borrowing resources (brood, honey stores) from a stronger one.
Choosing a hive type
For a first hive, extension guidance is consistent: use an 8- or 10-frame Langstroth hive — the standard box-and-frame design most beekeeping literature, mentor advice, and replacement parts are built around. Top-bar and horizontal "long" hives exist and have a following, but they use non-interchangeable equipment and far less published beginner support. Learn on the standardized system first; you can experiment with alternative hive styles later once you understand how a colony actually behaves.
Where your bees actually come from
| Source | What it is | Notes for beginners |
|---|---|---|
| Package bees | Loose workers (2–4 lb) plus a caged queen, no comb | Cheapest, most widely available; the bees must build comb from scratch, so it takes longer to establish |
| Nucless colony (nuc) | A small already-functioning colony on ~5 frames of drawn comb, brood, and a queen | Costs more but installs faster and more reliably — often recommended as the easier option for a first hive |
| Swarm capture | Catching a wild swarm clustered on a branch or structure | Free, but unpredictable timing and health status; not a good primary plan for a first colony |
Bees are typically ordered months ahead — many extension programs advise ordering in November or December for spring delivery — so plan your first hive the winter before you actually want bees, not the week you decide to start.
What it actually costs to get started
Exact prices vary by supplier and region, but published extension budgets consistently land in the same range: bare-minimum first-hive equipment (hive bodies, frames, foundation, a basic veil/gloves, hive tool, smoker) runs in the several-hundred-dollar range before you've bought any bees, with a full first-year setup (equipment plus bees plus incidentals) commonly landing in the $450–$550+ range per hive — and that's before any honey has been harvested to offset the cost. Budget per hive, not per beekeeper, if you're starting with the recommended two or more colonies.
A first-year calendar
A colony's needs shift by the month. This is the shape of a typical first year in a temperate climate — your local extension office can adjust the exact dates for your region:
| When | What's happening |
|---|---|
| Winter (Jan–Feb) | Order bees and equipment for spring; check hive weight if you already have a colony, feed fondant if under ~50–80 lb |
| Early spring (Mar) | Highest starvation risk of the year for an overwintered hive; begin 1:1 sugar syrup and pollen patty feeding |
| Spring (Apr) | Install new package/nuc once daytime temps are reliably above 55°F; full inspections begin |
| Late spring (May) | Watch for swarming behavior as the colony grows; first mite checks |
| Early summer (Jun) | Peak nectar flow; add honey supers as frames fill; continue mite monitoring |
| Midsummer (Jul) | Watch for "bearding" (bees clustering outside the hive in heat); ensure water access nearby |
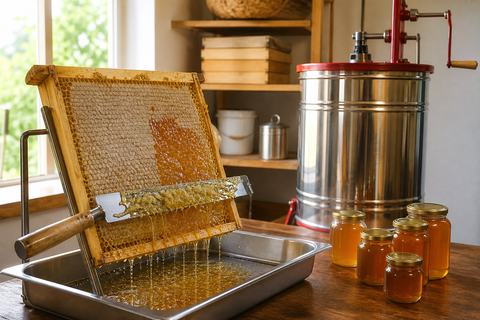
| Late summer (Aug) | Begin honey harvest, but leave enough stores behind; this is also when mite populations spike, so fall treatment planning starts now |
| Fall (Sep) | Switch to 2:1 sugar syrup feeding to build winter stores; keep monitoring and treating for mites |
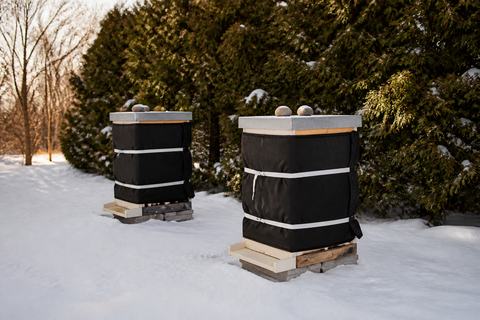
| Late fall (Oct) | Final inspection of stores and brood pattern; reduce entrances, add mouse guards, ensure ventilation so condensation doesn't drip on the cluster |
| Winter (Nov–Dec) | Minimal disturbance; feed fondant only if stores feel light by hefting the hive |
The one number worth memorizing: a colony generally needs roughly 80–100 lb of honey in storage (about 10–12 deep frames capped front and back) to make it through winter in a temperate climate. Harvesting past that point is the single most common way beginners accidentally starve their own hive.
Before you buy anything
Check local and municipal rules first — some cities cap hive counts per lot or require registration with the state department of agriculture, and many extension programs specifically recommend taking a local beginner beekeeping class and finding a mentor before you spend money on equipment. A local beekeeping association is also usually the fastest way to find a nuc supplier near you, rather than shipping bees a long distance.
Track your hives from day one
Mite counts, feeding dates, inspection notes, and honey harvests are hard to keep straight across even two hives once the season gets busy. The Beekeeping & Apiary Record Book gives you a printable system for exactly that, with hive-type and getting-started reference pages built in.
Browse the shop →More Beekeeping guides
- Sources:
- University of Missouri Extension — Beekeeping Tips for Beginners (G7600)
- Utah State University Extension — Beekeeping Annual Calendar
- Penn State Extension — Methods to Control Varroa Mites: An Integrated Pest Management Approach
- Oklahoma State University Extension — Beginning Honey Beekeeping Equipment and Associated Costs
- NC State Extension Entomology — Swarm Into Beekeeping